For quite a while, I’ve used XPlanet to display a graphic of the earth.
XPlanet is capable of drawing many different views of the earth, as well as projection types such as mercator or orthographic. You can also overlay other information on top of the basic earth image such as clouds, images such as satellites, and labels.
Installing XPlanet
Installing XPlanet is pretty easy with homebrew. (This assumes you already have homebrew and Xcode tools installed. If not, see this post ). Open Termainal.app and type in the following:
1brew install xplanet --with-aqua
Lingon X/launchd
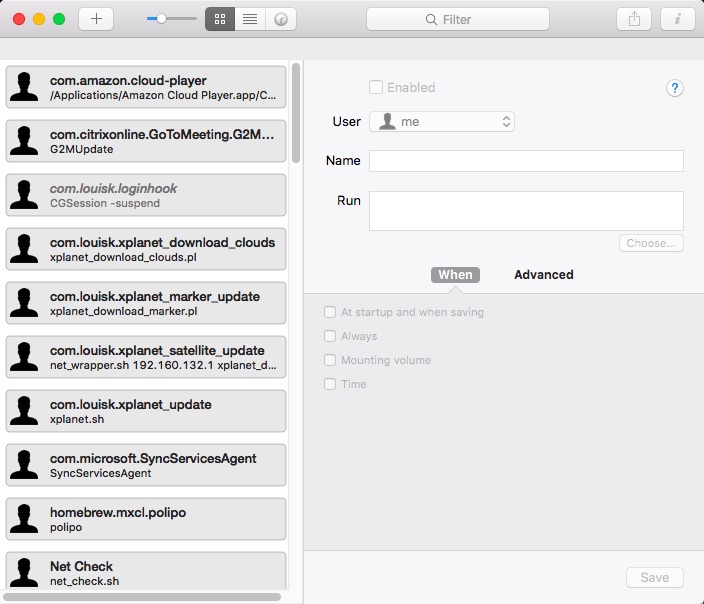
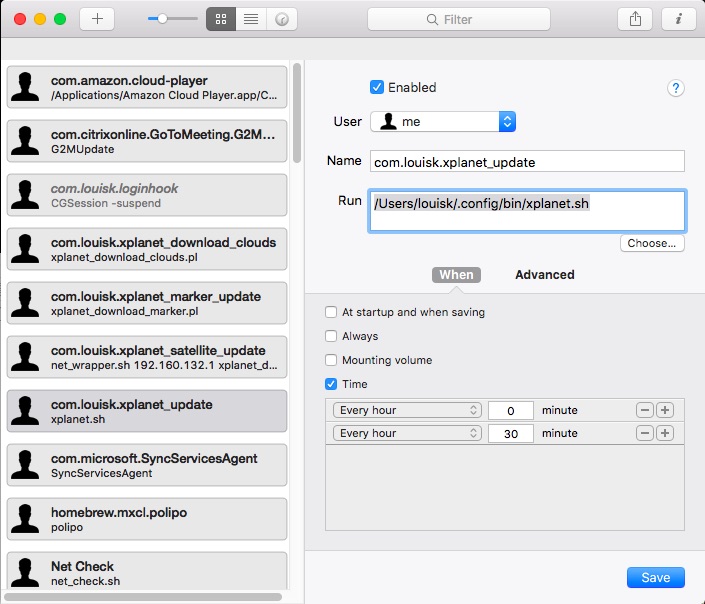
I drive the XPlanet image creation from a collection of scripts, fired off by launchd periodically. To make things easy, I use Lingon X to manage my launchd configurations. It looks like this:
Cloud Downloading
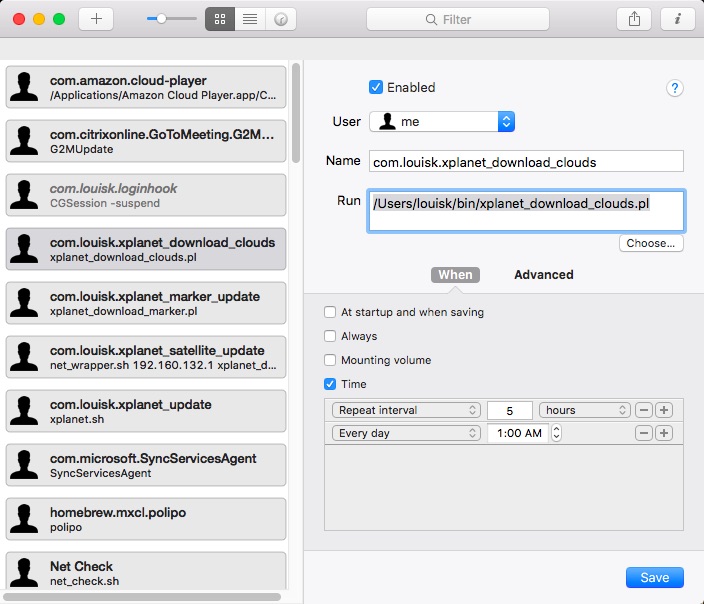
The first script is called xplanet_download_clouds.pl. As you might expect, it downloads a cloud file that XPlanet will use to show what the current cloud cover (of the whole planet) looks like.
 1#!/usr/bin/perl
 2#
 3# Louis Kowolowski © 2009 - 2015
 4# download table updated 17 JANUARY 2009
 5
 6use warnings;
 7use strict;
 8use LWP::Simple;
 9
10# Set options:
11#  - where to save the downloaded file (default is current directory)
12my $Filename = "/Users/louisk/.xplanet/images/clouds.jpg";
13
14# - how often the image is updated on the server
15my $MaxDownloadFrequencyHours = 3;
16
17# - how many times to retry, if the server doesn't respond
18my $MaxRetries = 9;
19
20my $Response = "";
21
22# Download the file
23print "Downloading...\n";
24$Response = getstore("http://xplanetclouds.com/free/local/clouds_2048.jpg", $Filename);
The Lingon/plist screenshot for this is
Marker Downloading
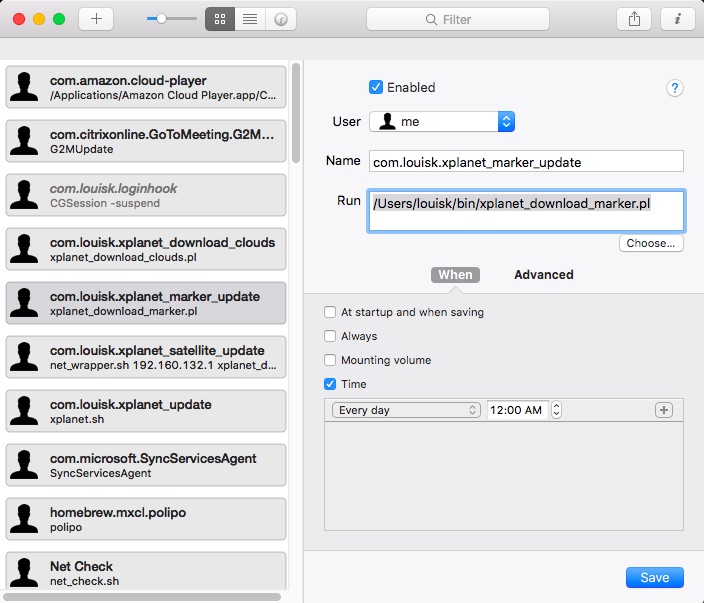
The second script is called xplanet_download_marker.pl. This pulls down information about various places of interest and generates a marker file that will be used by XPlanet to illustrate the places of interest on the image.
 1#!/usr/bin/perl
 2#
 3# Download marker files for xplanet
 4# Louis Kowolowski © 2009 - 2015
 5
 6use warnings;
 7use strict;
 8use LWP::Simple;
 9
10my $uname = `uname`;
11my $file_base = "/Users/louisk/.xplanet/";
12my @satellite_arr = ('iss.tle', 'iss');
13my @marker_arr = ('volcano','storm','quake');
14my @arc_arr = ('storm');
15my $quake_min = "6.0";
16
17chomp ($uname);
18my($me) = "$0";
19$me =~ s#^.*/##;
20
21#&getopts('f:Tv');
22# f: file to open
23# T: if specified, test mode -- don't actually do it
24# v: verbose -- chat about progress
25#my $file = ${opt_f};
26
27sub get_markers () {
28	foreach my $marker ( @marker_arr ) {
29		my $get_marker = get "http://www.wizabit.eclipse.co.uk/xplanet/files/local/$marker";
30		# check whether we have a successful get or not
31			my @get_marker_arr = split ('\n',$get_marker);
32			my $marker_file = "$file_base" . "/markers/" . "$marker";
33			open(OFILE, "> $marker_file") || die ("Can't open $marker_file: $!");
34			my $next_line = "";
35			for (my $i = 0; $i < @get_marker_arr; $i+=2) {
36				my $curr_line = $get_marker_arr[$i];
37				$next_line = $get_marker_arr[$i + 1];
38				next unless $curr_line =~ m/\"[5-9]\.\d\"/;
39				print OFILE "$curr_line\n" unless $curr_line eq "";
40			}
41			close OFILE;
42	}
43}
44
45sub get_satellites () {
46	foreach my $marker ( @satellite_arr ) {
47		my $get_marker = get "http://www.wizabit.eclipse.co.uk/xplanet/files/local/$marker";
48		my @get_marker_arr = split ('\n', $get_marker);
49		my $marker_file = "$file_base" . "/satellites/" . "$marker";
50			open(OFILE, "> $marker_file") || die ("Can't open $marker_file: $!");
51			foreach my $line ( @get_marker_arr ) {
52				print OFILE "$line\n" unless $line eq "";
53			}
54			close OFILE;
55	}
56	my $get_visible = get "http://celestrak.com/NORAD/elements/visual.txt";
57	my $visible_file = "$file_base" . "satellites/visible-satellites.tle";
58	my @get_visible_arr = split ('\n', $get_visible);
59	open(OFILE, "> $visible_file") || die ("Can't open $visible_file: $!");
60	foreach my $line ( @get_visible_arr ) {
61		print OFILE "$line\n" unless $line eq "";
62	}
63	close OFILE;
64}
65
66sub get_arcs () {
67	foreach my $marker ( @arc_arr ) {
68		my $get_marker = get "http://www.wizabit.eclipse.co.uk/xplanet/files/local/arcs/$marker";
69		my @get_marker_arr = split ('\n', $get_marker);
70		my $marker_file = "$file_base" . "/arcs/" . "$marker";
71		open(OFILE, "> $marker_file") || die ("Can't open $marker_file: $!");
72		foreach my $line ( @get_marker_arr ) {
73			print OFILE "$line\n" unless $line eq "";
74		}
75		close OFILE;
76	}
77}
78
79# Get func-e and call those bad boys!
80get_arcs;
81get_satellites;
82get_markers;
The Lingon/plist screenshot for this is
Satellite Downloading
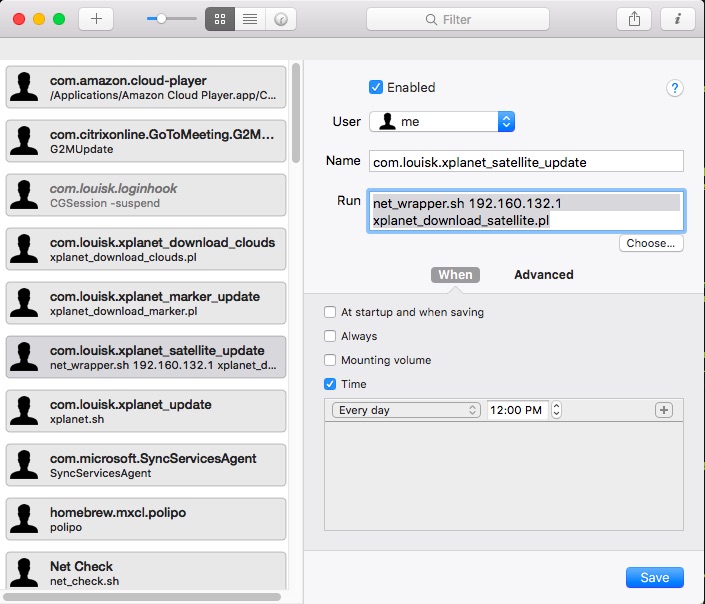
The third script is called xplanet_download_satellite.pl. This pulls down information about some satellites such as ISS. With this information, XPlanet can draw not only the location but also the trajectory of the satellites.
 1#!/usr/bin/perl
 2
 3# Download satellite info for xplanet
 4#
 5# Louis Kowolowski © 2009 - 2015
 6#
 7
 8use warnings;
 9use strict;
10use LWP::Simple;
11
12my $uname = `uname`;
13my $iss_file = "/Users/louisk/.xplanet/satellites/iss.tle";
14my $visible_file = "/Users/louisk/.xplanet/satellites/visible.tle";
15chomp ($uname);
16
17sub get_iss () {
18	my $get_iss = get 'http://celestrak.com/NORAD/elements/stations.txt';
19	open(OFILE, "> $iss_file") || die ("Can't open $iss_file: $!");
20	print OFILE "$get_iss" unless $get_iss eq "";
21	close OFILE;
22}
23
24sub get_visible () {
25	my $get_visible = get 'http://celestrak.com/NORAD/elements/visual.txt';
26	open(OFILE, "> $visible_file") || die ("Can't open $visible_file: $!");
27	print OFILE "$get_visible" unless $get_visible eq "";
28	close OFILE;
29}
30
31## Get func-e and call those bad boys!
32get_iss;
33get_visible;
The Lingon/plist screenshot for this is
XPlanet
The last script is called xplanet.sh. This collects all the information and then finally calls the xplanet binary to actually generate the image.
 1#!/bin/sh
 2
 3PATH="/bin:/usr/bin:/usr/local/bin"
 4
 5XPLANET=`which xplanet`
 6# Generic image directory
 7XPLANET_IMAGES="/Users/louisk/.xplanet/images"
 8
 9# figure out the numeric month
10MONTH=`/bin/date +%m`
11# link day map image to correct month image
12cd /Users/louisk/.xplanet/images && ln -f ${MONTH}.jpg day_map.jpg
13
14# Pick the background of the earth depending on which month it is
15DAYMAP="/Users/louisk/.xplanet/images/${MONTH}.jpg"
16CONF_FILE="/Users/louisk/.xplanet/xplanet.conf"
17OUTPUT="/Users/louisk/.xplanet/images/$$.xplanet.jpg"
18
19# Center over where I am (not always accurate, but usually close enough)
20source /Users/louisk/.xplanet/location.sh
21
22# keep output the same size as input file
23GEOMETRY="4096x2048"
24
25# rectangular fills whole screen
26PROJECTION="rectangular"
27
28# set fontsize to 24
29FONTSIZE=24
30
31# do it
32${XPLANET} --num_times 1 -fontsize ${FONTSIZE} -config ${CONF_FILE} -latitude ${Latitude} -longitude ${Longitude} -projection ${PROJECTION} -geometry ${GEOMETRY} -output ${OUTPUT}
33
34mv ${OUTPUT} /Users/louisk/Pictures/xplanet.jpg
The Lingon/plist screenshot for this is
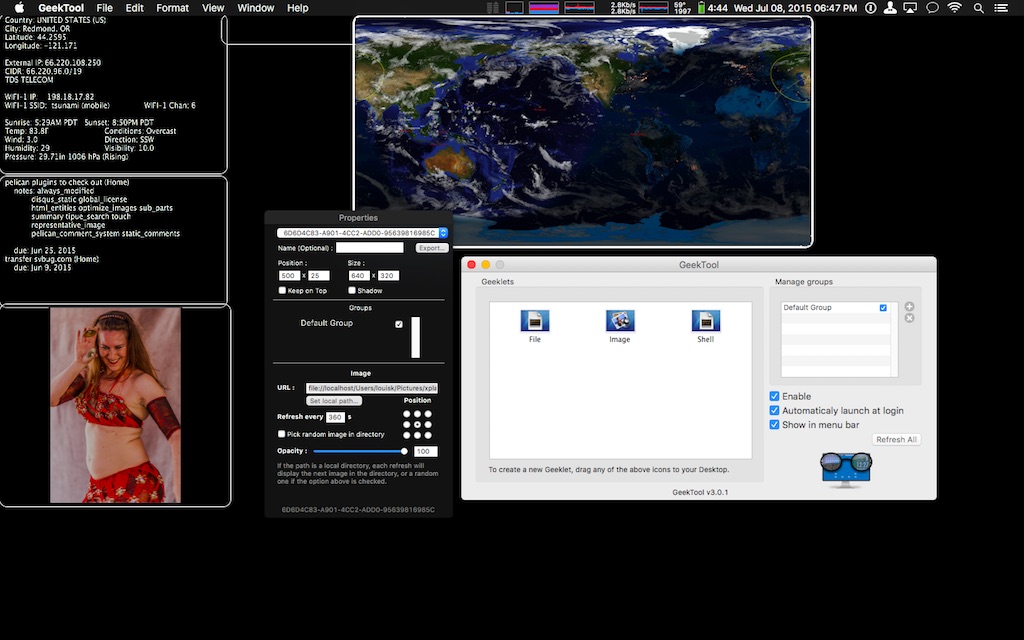
Once the image has been created, I use Geektool to show the image on the desktop (something akin to a thumbnail, since the original is 4k x 2k). Geektool allows you to choose the size, and location of the ‘geeklet’ that you want to put on your desktop. geeklets can contain text, or images. They can have custom colors and locations.
A screenshot of geektool looks like
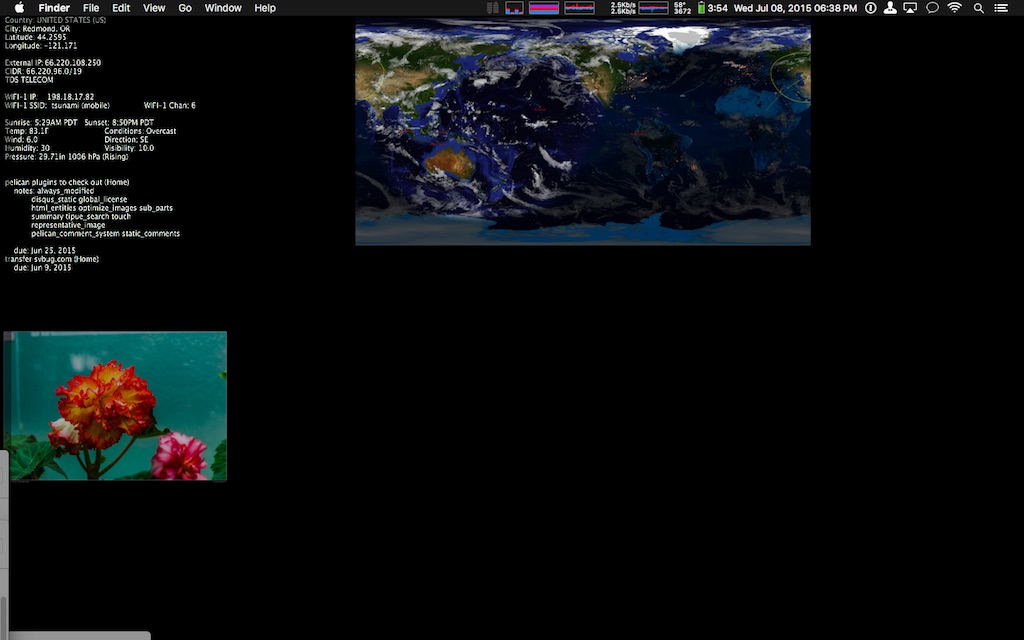
A screenshot of my desktop (showing the output from xplanet in the top center) looks like:

Comments