If you’re looking for a policy server that includes greylisting, PolicyD is a solid choice.
In addition to covering greylisting, it also offers per-user/domain rate limiting, quotas, and AV scanning before you accept the message (courtesy of Amavisd-new).
Configuring PolicyD (v2)
PolicyD v2 is a policy server for many popular MTAs (Postfix, Sendmail, etc). The goal is to implement as many spam combating and email compliance capabilities as possible while simultaneously maintaining the portability, stability and performance required for mission critical email hosting. Documentation for policyd here
We start by creating the database and SQL files:
1CREATE ROLE policyd WITH ENCRYPTED PASSWORD 'password';
2CREATE DATABASE policyd WITH OWNER = policyd;
I had a couple issues with the sql generation. It appears that they didn’t write the scripts using portable sed. Until the port gets patched , the easiest workaround is to install textproc/gsed. Then go in and patch the convert-tsql, parse-checkhelo-whitelist, and parse-greylisting-whitelist scripts to call gsed instead of sed.
You can use the following:
1sed -i -e 's/sed/gsed/g' convert-tsql
and
1sed -i -e 's/sed/gsed/g' parse-checkhelo-whitelist
2sed -i -e 's/sed/gsed/g' parse-greylisting-whitelist
Additionally, I had to further patch the convert-tsql script, in the pgsql section so it would generate valid SQL (as interpreted by PostgreSQL 9.4). Adding the following line replaces all the lines starting with a ‘#’ with ‘–’ and removes empty lines.
1-e 's/#/--/'
2-e '/^\s*$/d'
The whole section looks like this:
 1  "pgsql")
 2    gsed \
 3      -e 's/@PRELOAD@/SET CONSTRAINTS ALL DEFERRED;/' \
 4      -e 's/@POSTLOAD@//' \
 5      -e 's/@CREATE_TABLE_SUFFIX@//' \
 6      -e 's/@SERIAL_TYPE@/SERIAL PRIMARY KEY/' \
 7      -e 's/@BIG_INTEGER_UNSIGNED@/INT8/' \
 8      -e 's/@TRACK_KEY_LEN@/512/' \
 9      -e 's/@SERIAL_REF_TYPE@/INT8/' \
10      -e 's/#/--/' \
11      -e '/^\s*$/d' < "$file"
12  ;;
Now you can generate the SQL file:
1cd /usr/local/share/policyd2/database/
2for i in core.tsql access_control.tsql quotas.tsql amavis.tsql checkhelo.tsql checkspf.tsql greylisting.tsql ; do
3bash convert-tsql pgsql ${i}
4done > /tmp/policyd.sql
Now you can import your policyd.sql file
1psql -U policyd -W policyd < /tmp/policyd.sql
Optionally, you can import the whitelist entries for ‘checkhelo’ and ‘greylisting’. These can be found in ‘/usr/local/share/policyd2/database/whitelist/’.
1bash parse-checkhelo-whitelist > /tmp/policyd-checkhelo.sql
2bash parse-greylisting-whitelist > /tmp/policyd-greylisting.sql
3psql -U policyd -W policyd < /tmp/policyd-checkhelo.sql
4psql -U policyd -W policyd < /tmp/policyd-greylisting.sql
Now that the database tables are populated, we can configure the /usr/local/etc/cluebringer.conf file.
Config file stripped of comments or empty lines:
 1# cluebringer.conf
 2[server]
 3protocols=<<EOT
 4Postfix
 5EOT
 6modules=<<EOT
 7Core
 8AccessControl
 9CheckHelo
10CheckSPF
11Greylisting
12Quotas
13EOT
14pid_file=/var/run/cbpolicyd.pid
15min_servers=2
16min_spare_servers=2
17max_spare_servers=4
18max_servers=10
19max_requests=1000
20log_level=2
21log_mail=mail@syslog:native
22log_mail=maillog
23host=*
24port=10031
25[database]
26DSN=DBI:Pg:database=policyd;host=localhost
27Username=policyd
28Password=password
29bypass_mode=tempfail
30bypass_timeout=30
31[AccessControl]
32enable=1
33[Greylisting]
34enable=1
35[CheckHelo]
36enable=1
37[CheckSPF]
38enable=1
39[Quotas]
40enable=1
We also need to edit the config.php in /usr/local/www/policyd/includes and define the database connection parameters:
 1<?php
 2# config.php
 3#
 4# mysql:host=xx;dbname=yyy
 5# pgsql:host=xx;dbname=yyy
 6# sqlite:////full/unix/path/to/file.db?mode=0666
 7#
 8$DB_DSN="pgsql:host=localhost;dbname=policyd";
 9$DB_USER="policyd";
10$DB_PASS="password";
11
12# THE BELOW SECTION IS UNSUPPORTED AND MEANT FOR THE ORIGINAL SPONSOR OF V2
13#
14#$DB_POSTFIX_DSN="mysql:host=localhost;dbname=postfix";
15#$DB_POSTFIX_USER="root";
16#$DB_POSTFIX_PASS="";
17?>
We can enable policyd with
1sysrc policyd2_enable=YES
Now we can start policyd with
1service policyd2 start
You should be able to see it in a ps(1) listing:
1[louisk@mail louisk 1 ]$ ps ax | grep policyd
2 1216  -  Ss       0:17.14 /usr/local/bin/perl /usr/local/bin/cbpolicyd
360241  -  I        0:00.03 /usr/local/bin/perl /usr/local/bin/cbpolicyd
469858  -  I        0:00.02 /usr/local/bin/perl /usr/local/bin/cbpolicyd
575186  0  S+       0:00.00 grep policyd
6[louisk@mail louisk 2 ]$
and also with [sockstat(1)][sockstat(1)]:
1[louisk@mail louisk 4 ]$ sockstat -46l | grep 10031
2root     perl       75871 6  tcp4   127.0.0.1:10031       *:*
3root     perl       69858 6  tcp4   127.0.0.1:10031       *:*
4root     perl       60241 6  tcp4   127.0.0.1:10031       *:*
5root     perl       1216  6  tcp4   127.0.0.1:10031       *:*
6[louisk@mail louisk 5 ]$
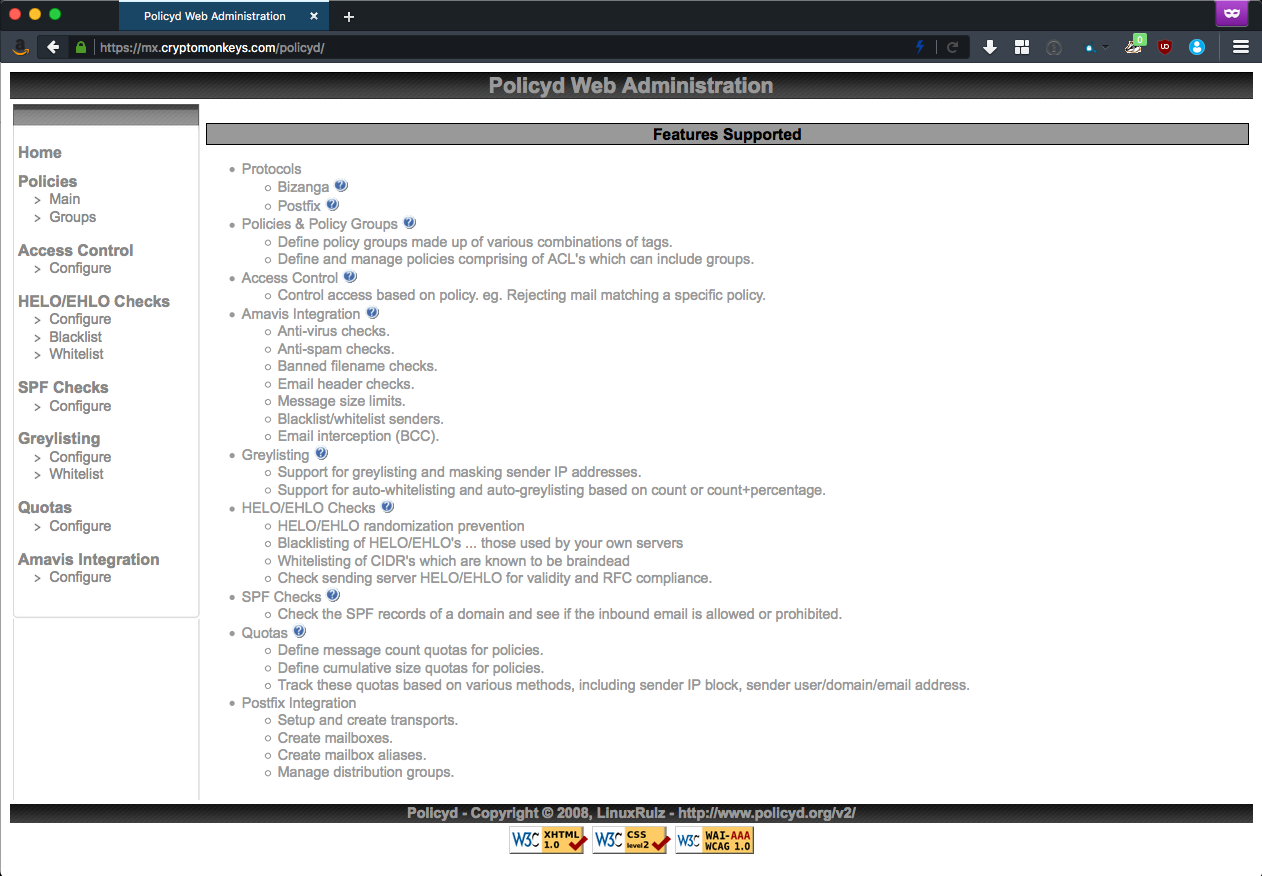
You should now be able to point your web browser to https://my-ip/policyd/ and see something that looks like this:
Example policy
This policy will define a quota of 200 messages ever 3600s (1 hour):
Add a policy
Policies -> Main: disable Test policy (select policy and choose Action -> Change and switch Disabled to yes. Don’t forget to validate.)
Action -> Add: give it a name and a description
Activate your new policy: select policy and choose Action -> Change (change Disabled to no)
Add a new member to your policy: select it and choose Action -> Members. Next, Action -> Add. Specify any as both a source and a destination.
Now, go back to your policy. Choose Action -> Members, select your member, do Action -> Change, and activate the new member (change Disabled to no).
Add a quota
Under Quotas -> Configure: First, we disable Test quotas.
Add a new quota: Choose Action -> Add
- Name : Something descriptive
- Track : user@domain.tld
- Period (seconds) : 3600
- Link to policy : specify the policy you created previously
- Verdict : Defer
- Data : You can define a custom error message here
- Comment : This is free-form
Activate your quota : change Disabled to no.
Add a limit to your quota: select your quota, choose Action -> Limits, then Action -> Add.
- Type : MessageCount
- Counter Limit : 200
Activate your limit : switch Disabled to no.
You now have a quota defined for user@domain.tld that will defer messages more than 200/hr.
Configuring SPF
Documentation for SPF .
If you would like an easy way to generate SPF records, look here
It should generate a DNS record that looks similar to this. I’ve specified IPs, and names of the mail server, in addition to “the machine sending mail”. The format is that of BIND.
1cryptomonkeys.com. IN TXT "v=spf1 mx a ip4:192.168.0.150 a:mx.cryptomonkeys.com include:mx.cryptomonkeys.com -all"

Comments